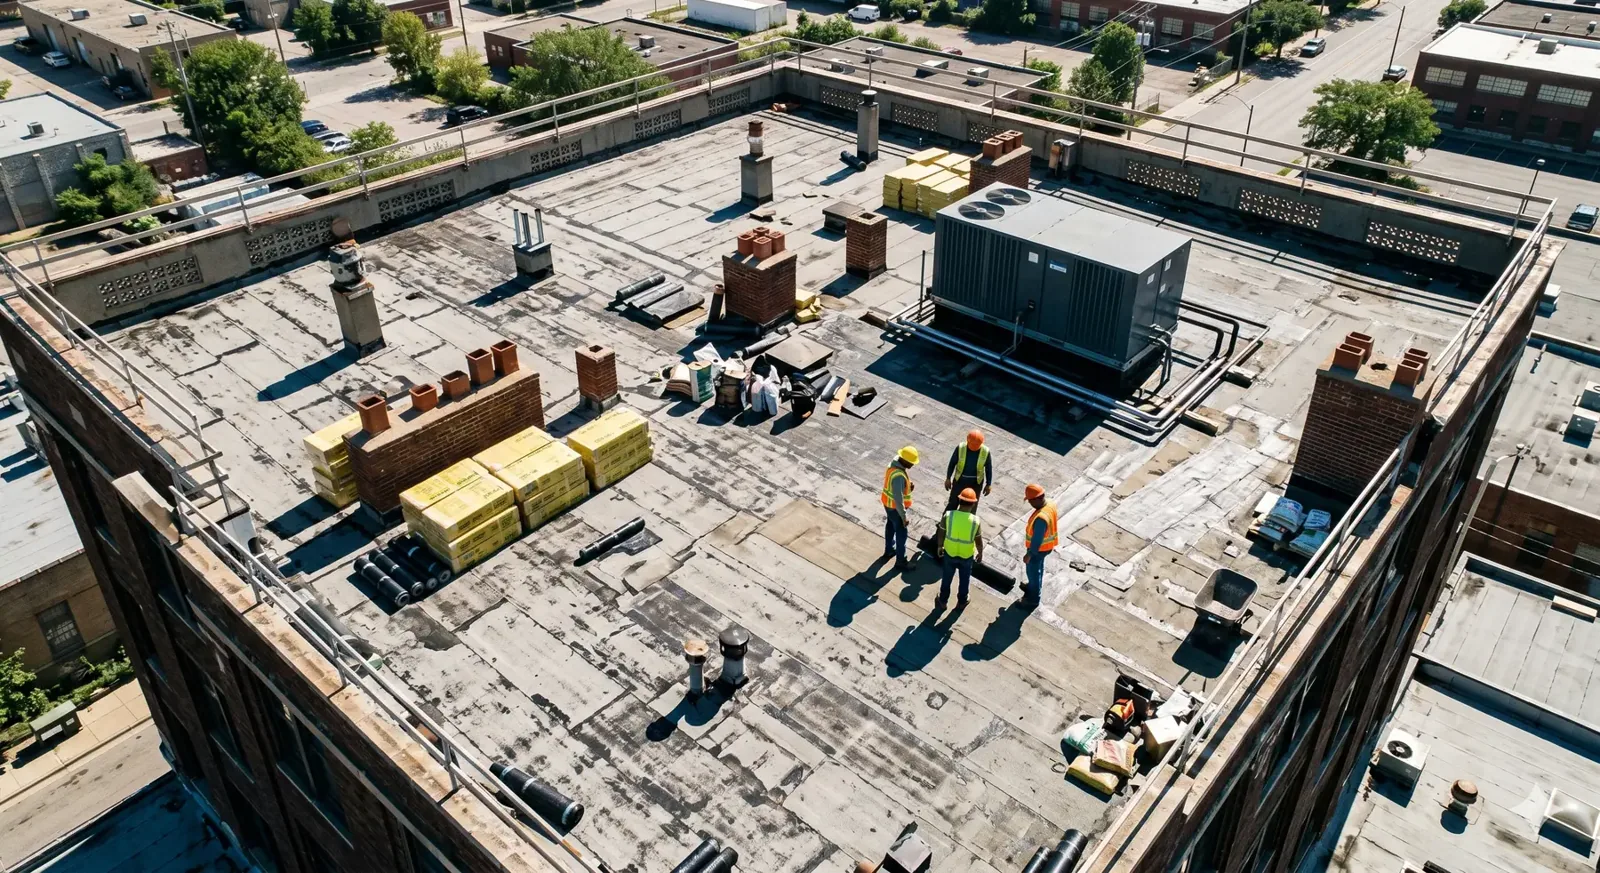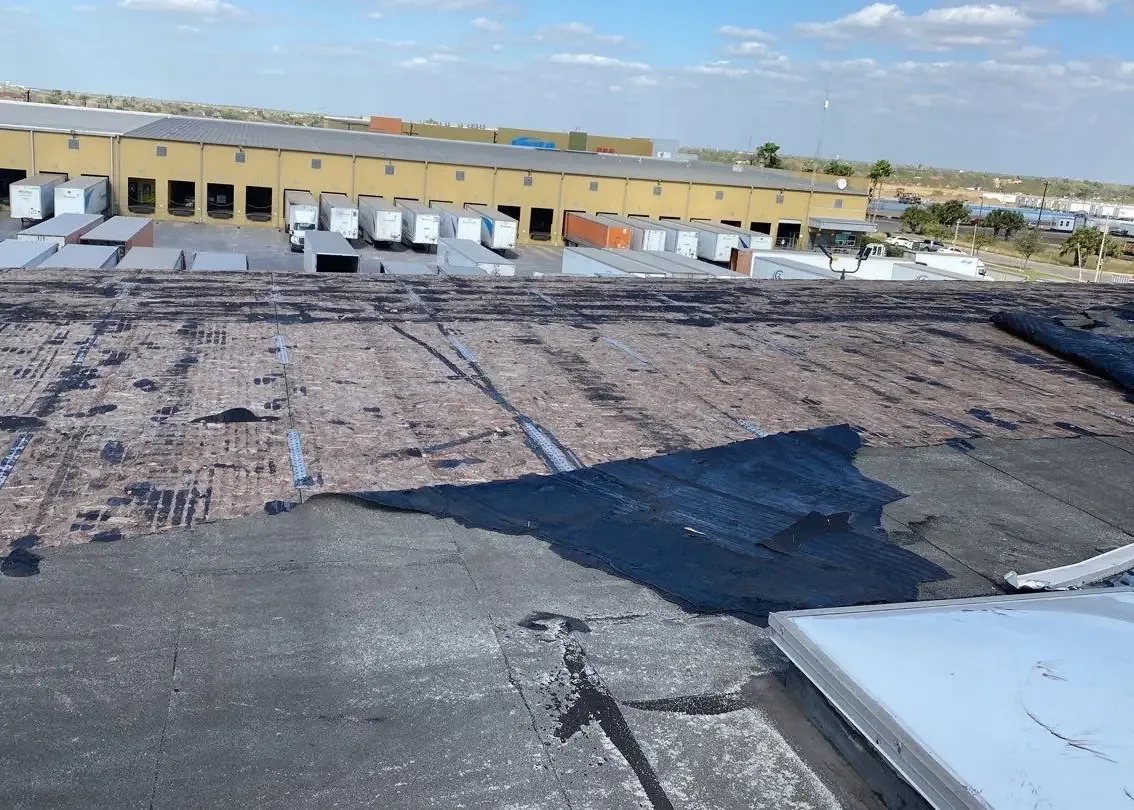
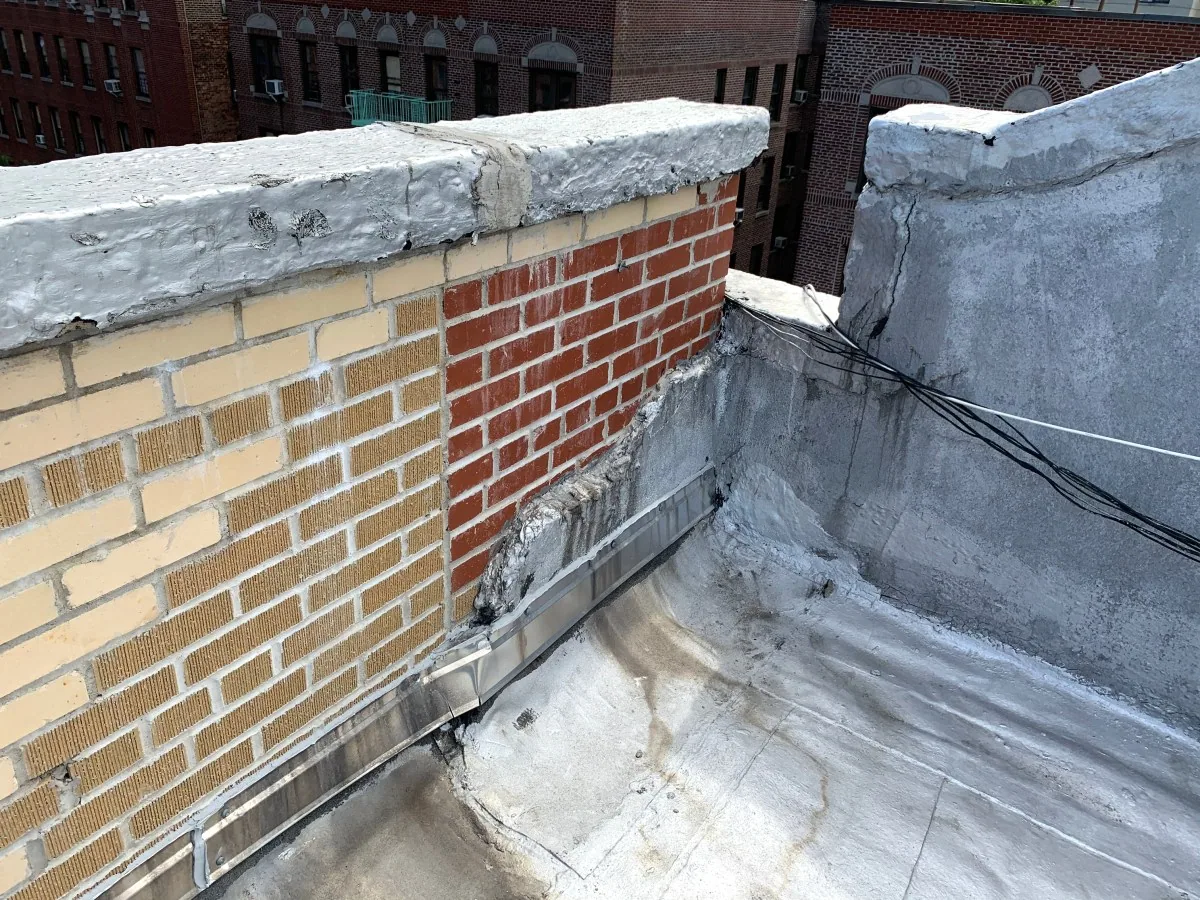
A split seal at a curb, loose counterflashing or an open wall transition can let water reach the roof assembly even when the membrane field looks intact. For a commercial building in Renton, WA, we trace the reported leak to the flashing detail, check how it meets the installed roof system and document what needs repair. The visible stain inside is useful context, but it does not identify the roof opening by itself.

Before proposing work, we compare the leak date and location with roof plans, earlier repairs and safe access notes. A commercial roof inspection can record the flashing, nearby seams and drainage details together, so the repair addresses the observed path rather than a guess based on one ceiling mark.
Perimeter detail: follow the metal and membrane together
At the roof edge, inspect the metal cleat, face, laps, fasteners and membrane termination as one assembly. A lifted edge can result from loose attachment, a failed splice, movement at the substrate or damage from later work. We note the direction of the opening, its length and whether water could travel behind the metal before appearing indoors. Those observations help distinguish an isolated repair from a longer run that needs closer review.
Do not assume that adding sealant over the outside face will restore the detail. If a lap is open, the water path may continue behind the visible edge; if the termination has released, surface material alone may not secure the membrane. The repair record should identify the part to be opened, the compatible materials required and the inspection points that will confirm closure. For a separate opening caused by a storm-lifted perimeter, the wind-damage roof repair review helps keep stabilization questions distinct from routine flashing work.
Leak path: match the roof opening to the interior report
Inside the building, collect the date, room or area, ceiling condition and any change after rain. On the roof, compare that report with penetrations, curbs, wall transitions and nearby drains. Water can move along a deck flute or insulation joint, so the first wet tile may be offset from the opening. We mark likely paths and describe what evidence supports each one rather than assigning a cause before the assembly is inspected.
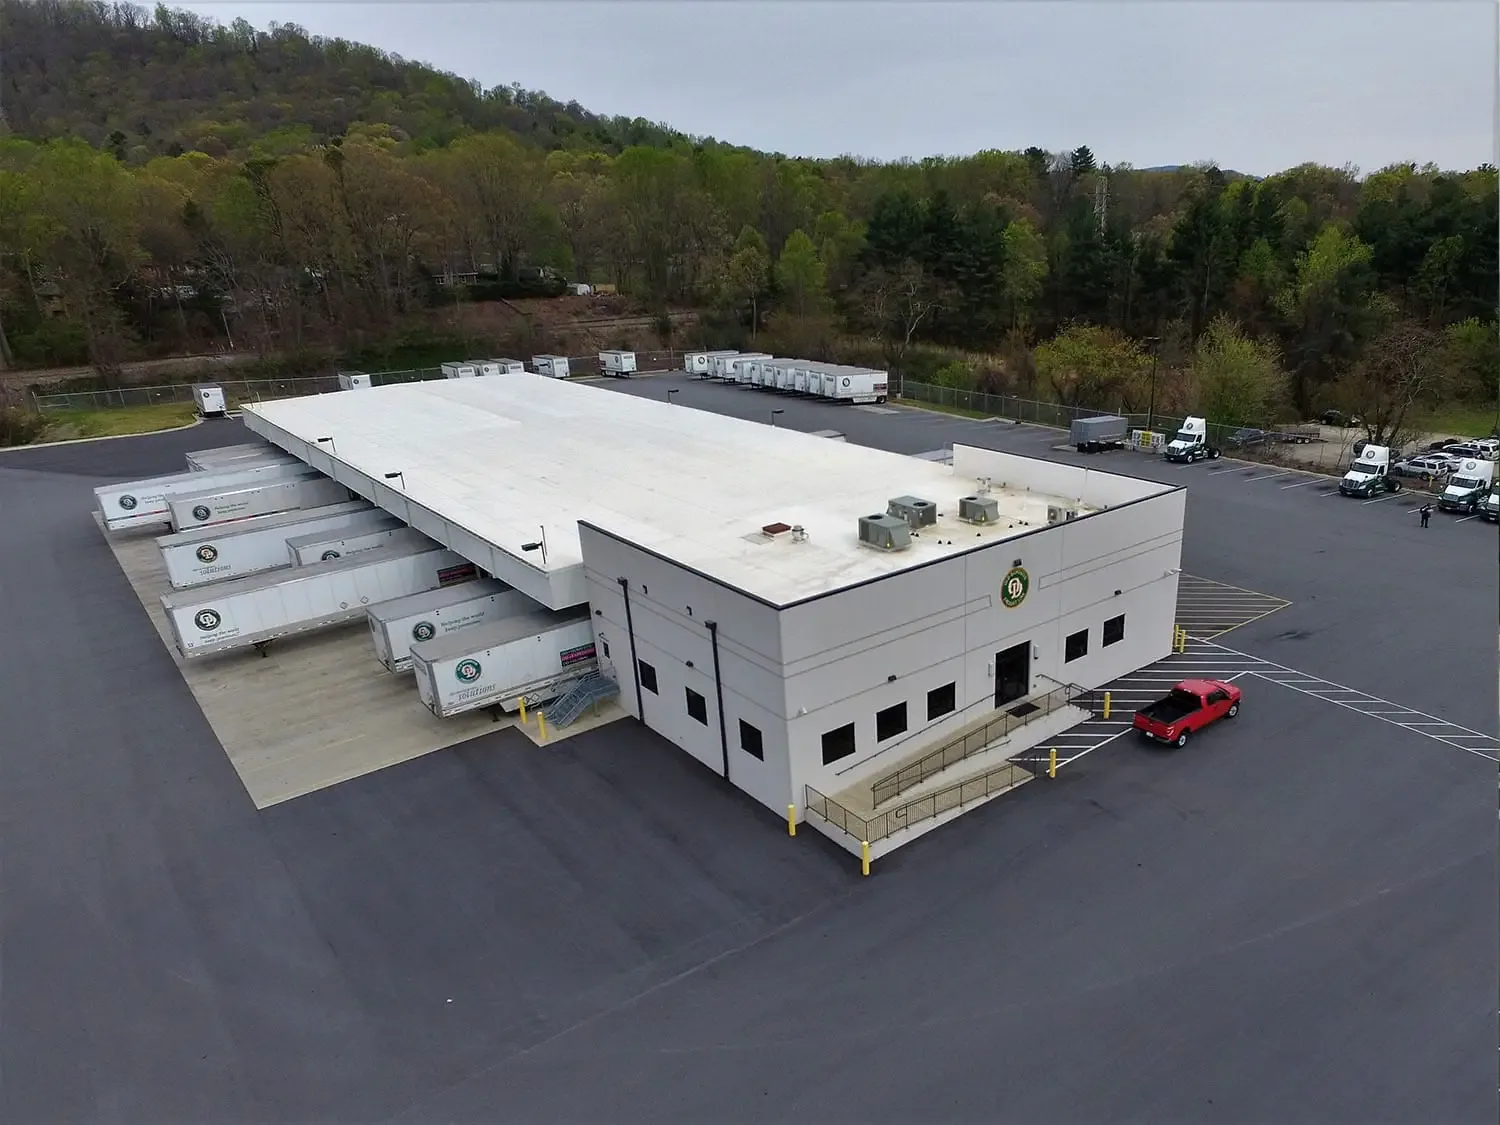
At a property in the Renton Valley Subarea that receives deliveries, access timing matters, so we confirm truck routes and ladder locations with the building contact; the property plan and field observations control the work scope.
Sea-Tac's 1991-2020 record has November at 6.31 inches and December at 5.72, versus 0.60 in July, which supports reviewing leak logs before the rainy season. A roof log that records when the leak appears and which detail is wet is more useful for planning the repair than the season alone.
Penetration and curb: inspect each transition at its base
A pipe boot, equipment curb or conduit support interrupts the roof surface and needs a flashing that suits both the membrane and the shape of the penetration. Check the base, corners, counterflashing, sealant joint and nearby fasteners. Note whether equipment has shifted, whether another trade has added supports, and whether the existing detail can be opened without disturbing the equipment. We record access limitations before recommending removal or replacement.
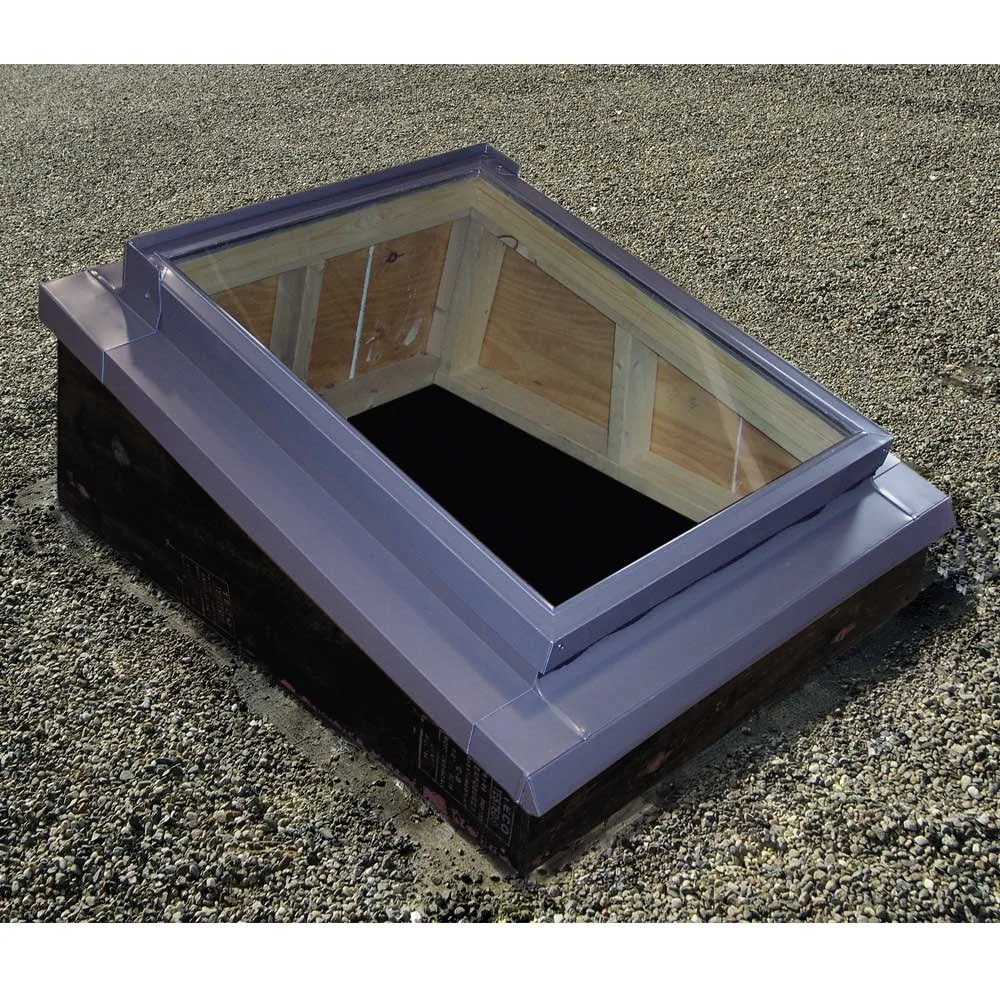
For a skylight or roof opening, the connection between the frame, curb and roof layers deserves its own inspection. A skylight and penetration flashing service can help assess that transition when the leak report points toward a glazed opening or curb. Keep the repair scope specific: identify the detail, dimensions, adjacent material and any test needed to confirm the suspected path. If the roof is modified bitumen, the lap and flashing method must suit the installed cap sheet and existing layer condition; a modified-bitumen roof review can inform that assembly choice.
Where flashing meets a wall, determine whether the membrane rises to a secure termination and whether counterflashing sheds water away from the joint. A wall coating or paint line does not establish that the roof transition is watertight. Photos from consistent viewpoints, a marked roof sketch and a note of any brittle or separated materials make it easier to compare the condition after repair.
Access plan: protect the work area and building schedule
Flashing repairs may require controlled roof access, temporary protection or a short closure around the affected detail. Coordinate ladder placement, keys, escorts, roof hatches and any restricted areas with the building contact. In an occupied facility, also identify the rooms below, sensitive equipment and a contact for interior follow-up. The crew should know which areas are approved and which remain inaccessible so the completion record does not imply a full inspection where one was not possible.
For a Downtown Renton roof visit, the property contact, approved plans and field conditions determine how the crew reaches the flashing. If ponding is also present, the ponding-water repair review can keep drainage correction separate from the transition repair.
Repair record: define the detail and the verification
A useful scope names the flashing location, the observed defect and the proposed repair boundary. It should state whether the crew will remove loose or failed material, prepare the substrate, install a compatible replacement detail and reconnect the roof layers. Where concealed damage is possible, describe the test or opening needed before extending the repair. This keeps a visible sealant line from being mistaken for proof that the entire roof assembly has been restored.
After work, record the repaired length, materials, photographs and any area that could not be reached. If the seam beside the flashing is also open, a commercial roof seam failure review can address that condition as a separate line item. Owners can then compare the Diligence Notes with the proposal and decide whether additional testing or a broader capital plan is warranted. The closeout should also state when to recheck the detail, especially after the next period of sustained rain.
Send the property address, roof plan, leak dates, prior repair notes and access requirements. We will inspect the approved details, explain what the evidence supports and outline the repair or testing steps before work begins.
Commercial Roofing Questions
Can a flashing repair stop a leak when the stain is away from the roof opening?
It may, but the path needs to be traced. Water can move beneath the membrane or along a deck flute before appearing indoors. We compare the room report with roof details, mark the likely route and identify any test needed before setting the repair boundary.
Should we reseal the flashing before the inspection?
Avoid covering the detail if the condition can be documented safely. New sealant can hide the opening, materials or movement that help identify the cause. Share prior repair information and let the inspection record the existing condition first.
How do you decide whether a curb needs new flashing?
We inspect the curb base, corners, membrane connection, counterflashing and nearby equipment. The scope depends on the material condition, attachment and whether the roof layers can be repaired without disturbing the equipment.
What should a Renton building manager provide before a flashing repair visit?
Provide the address, roof plan if available, leak dates, interior locations, prior work notes and access requirements. Identify escorts, restricted areas and any delivery or tenant schedule that affects ladder placement.
Does an open flashing prove the roof needs replacement?
No. A defect at one transition may be repairable, while other roof areas may have different conditions. The report should describe the detail inspected, nearby system condition and any limits before comparing a local repair with broader work.